Start Up an F# Solution for Revit Plug-In | 在 Visual Studio 中用 F# 編程 Revit 外部指令
Setting up a convenient coding environment is the first step towards efficiency. By using Microsoft Visual Studio, we can easily set up a solution with project(s).
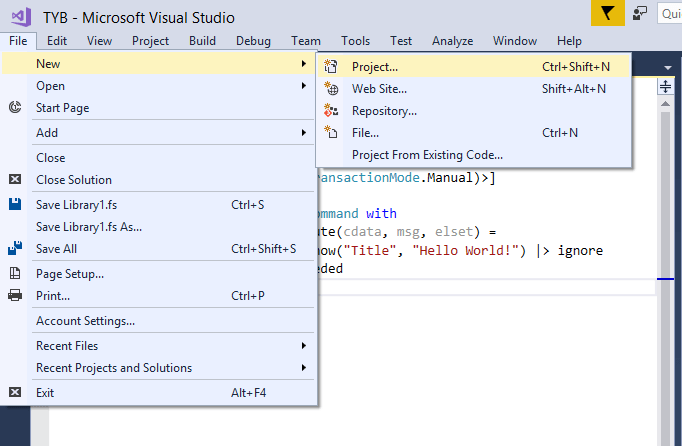
When it comes to selection of the type of coding language, we use Visual F# and since our aim is to compile a dynamic-link library (.dll) file, we select “Library”.
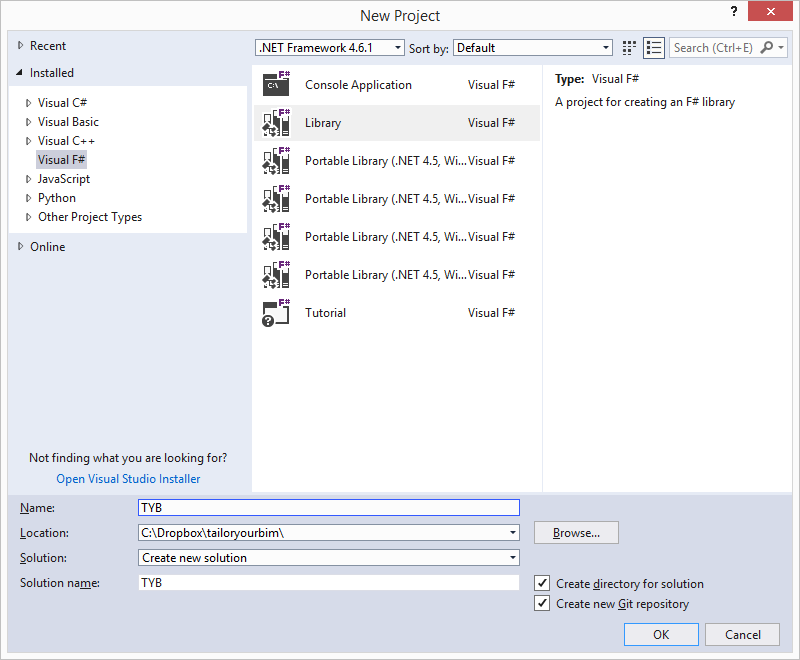
After click OK, Visual Studio (VS) will create the necessary element in the folder that we gave for location, then the editing interface will show up and we are all set for coding!
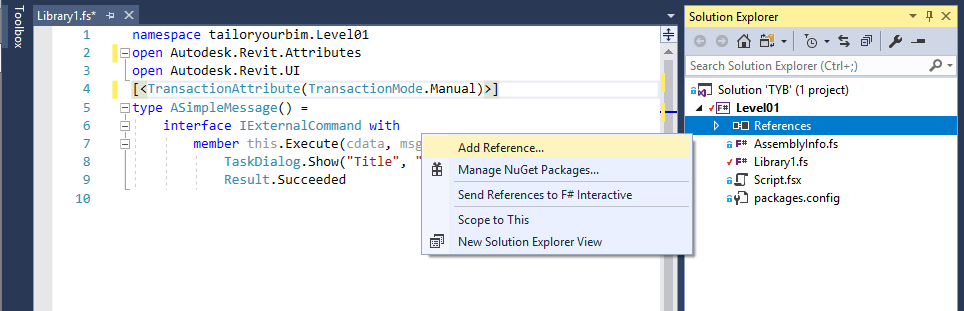
Using the last posted command as an example, for starting an external command, we need to assign an attribute to the type/class “ASimpleMessage” as indecated in line 4 and for replying a message by using class “TaskDialog” and overload its “Show” method, we have to firstly reference the Attributes and UI namespace (as in line 2 and 3) from the assemblies – RevitAPI.dll and RevitAPIUI.dll, by right-click on the tree view member “References” in the Solution Explorer and at the drop-down select “Add Reference”.
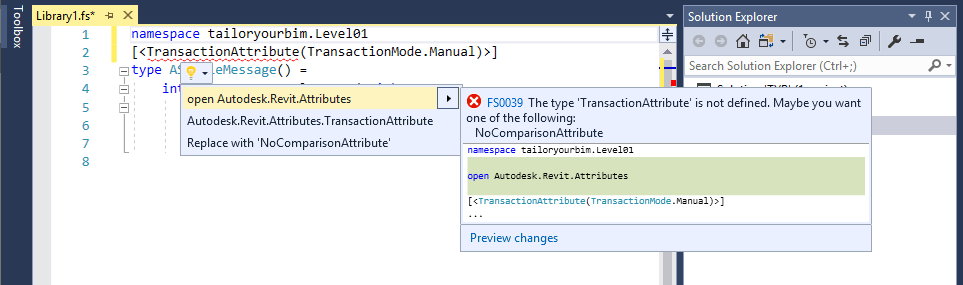
After adding the references by pointing to their locations in the Revit program folder, the references are ready for use and listed inside the references list. However, a convenient way for not forgetting to open the needed namespaces is when the auto-correction in VS shows the red curly lines under the certain code part, hoovering your cursor and click on its correcting suggestion and VS will add the necessary reference in your code for you.
When there are no more red curly marks, we can try to build our library. Building command is located in the toolbar under “Build > Build + project name“. By default, the built .dll file will be found in your project debug folder. Add this path to your .dll file in your add-in file for your assembly path, then you’ve got the external command ready for utilizing in Revit!
Stay tuned!